tutorials/
Rendering a cadnano model in Maya
2016-11-29Attachments:

Goal
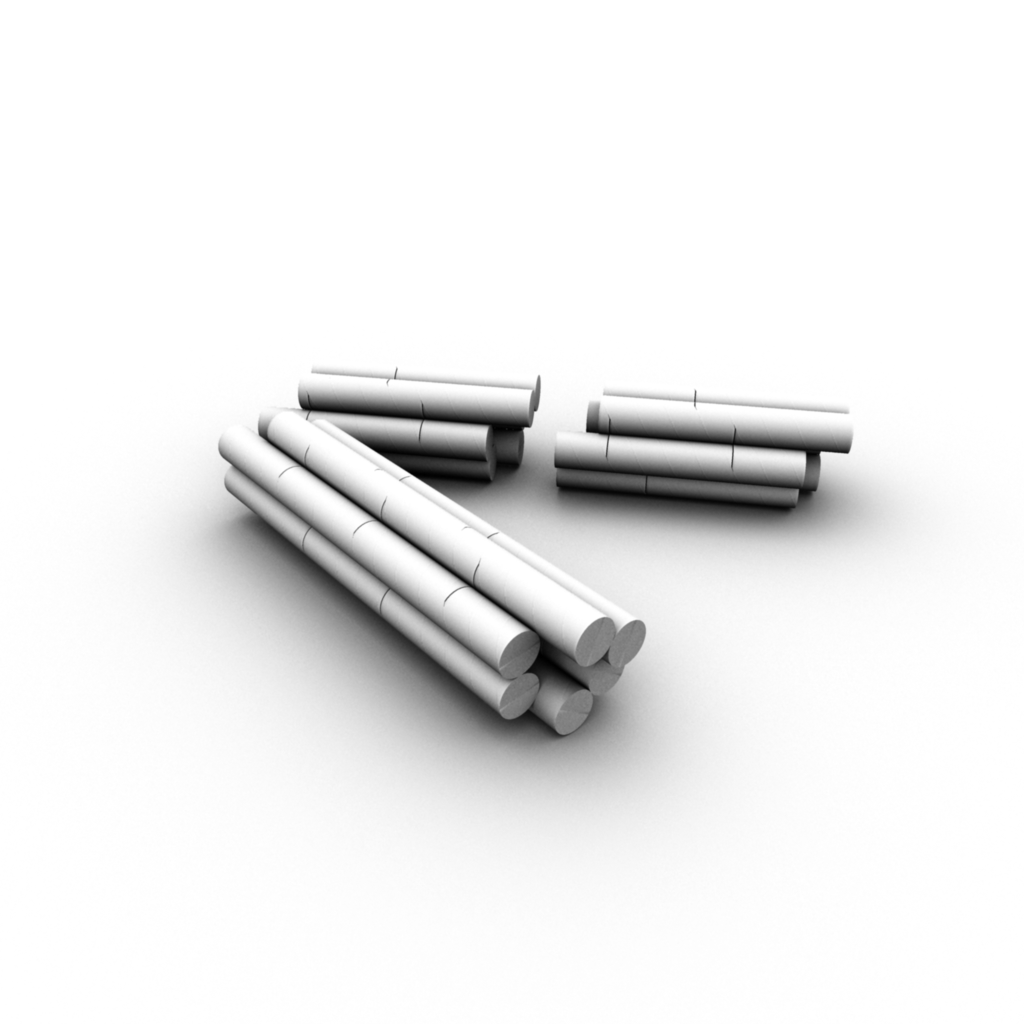
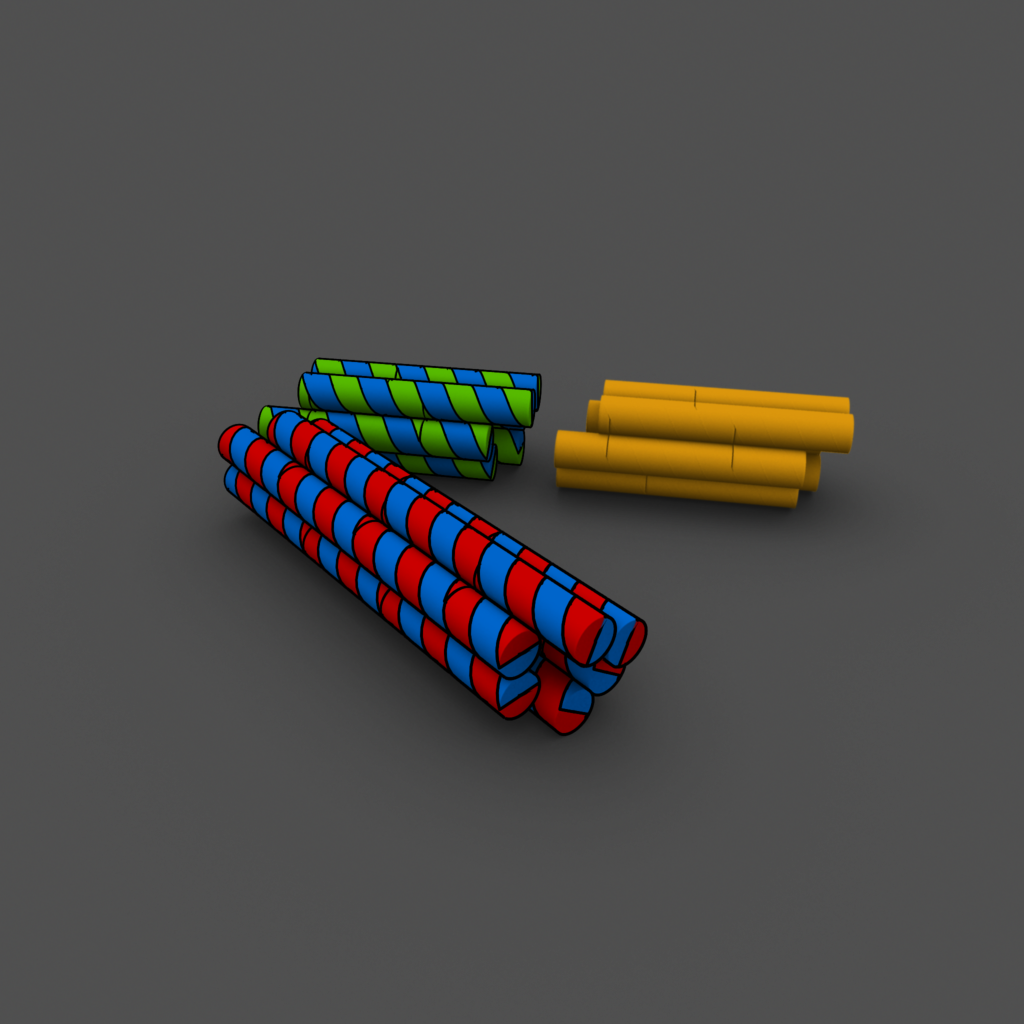
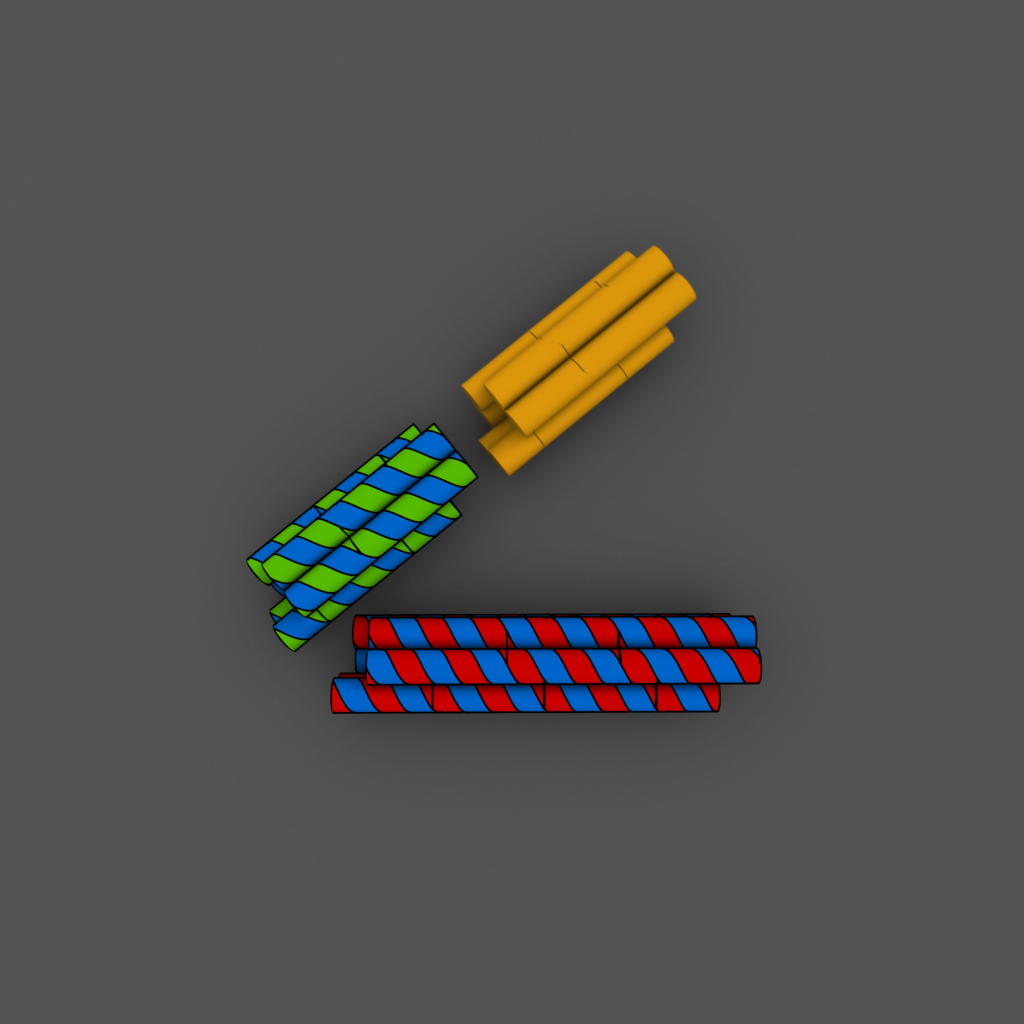
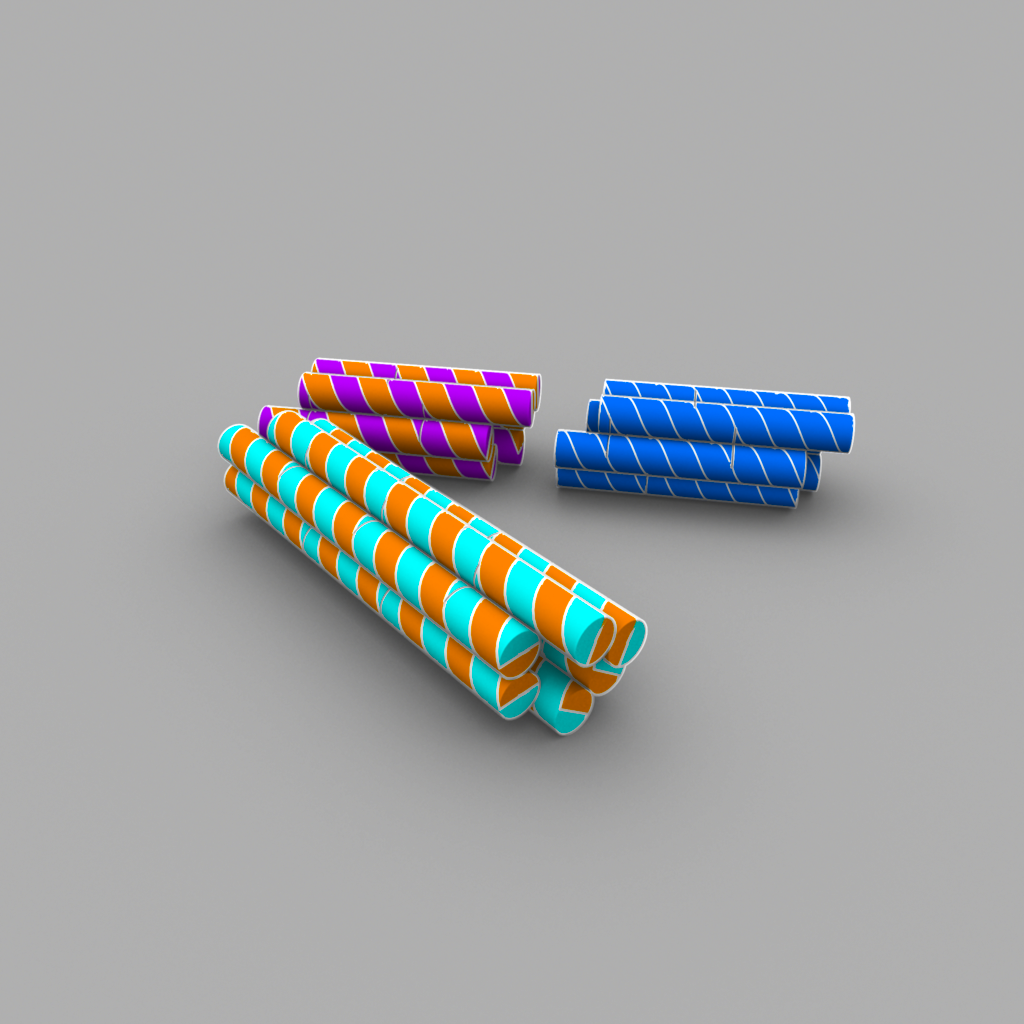
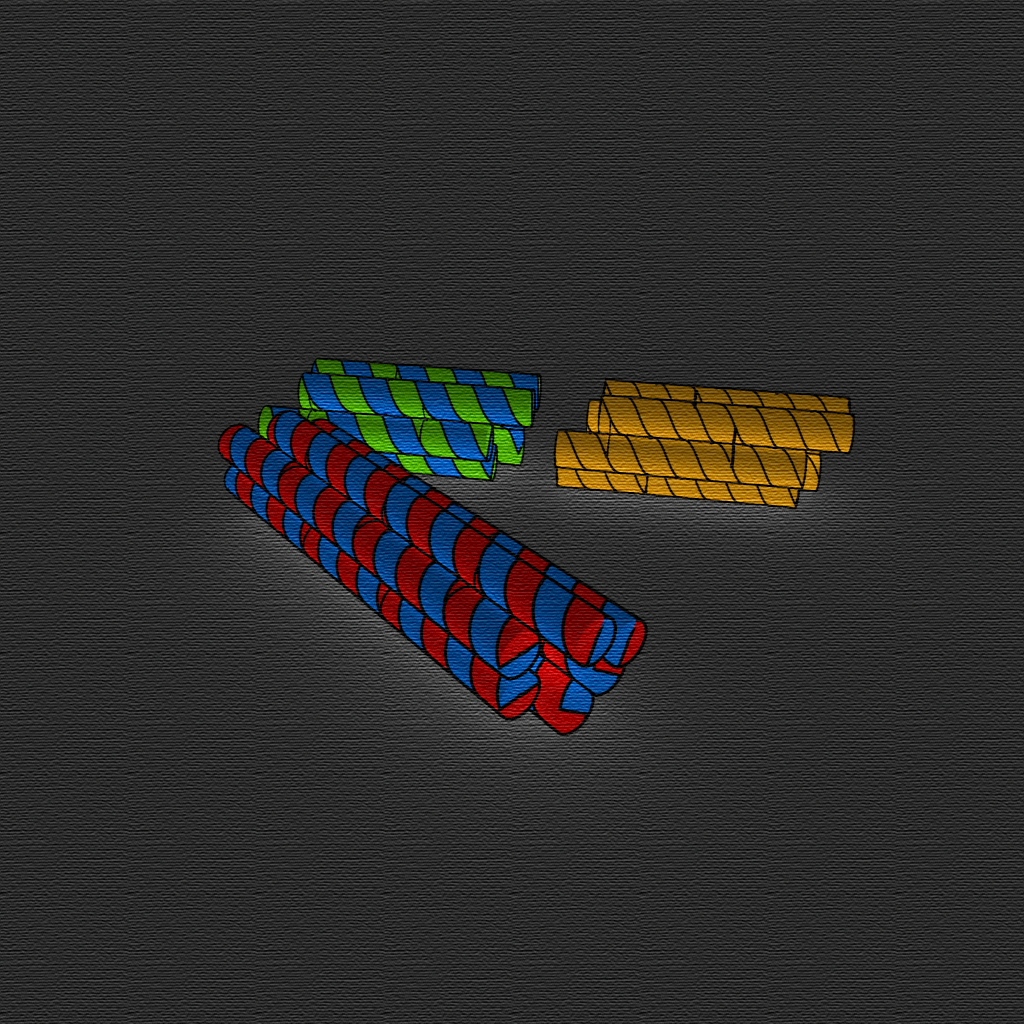
Here we want to create some publication-quality 3D renderings of DNA origami models built in cadnano. We use Maya 2012 with the cadnano2 plugin and Photoshop. This should also work with Maya 2015 and cadnano2.2. Some representative composited renders are shown to the right. The toon outline was omitted from the orange domain for comparison.


Basic Concepts
This assumes basic familiarity with cadnano and the Maya interface.
To achieve the desired appearance, the rendering must be done as two separate passes, and then composited into a single image at the end of the process. Fortunately, it's possible to automate this for export into PSD layers which makes compositing very easy.
 |
| |
|:-:|:-:|
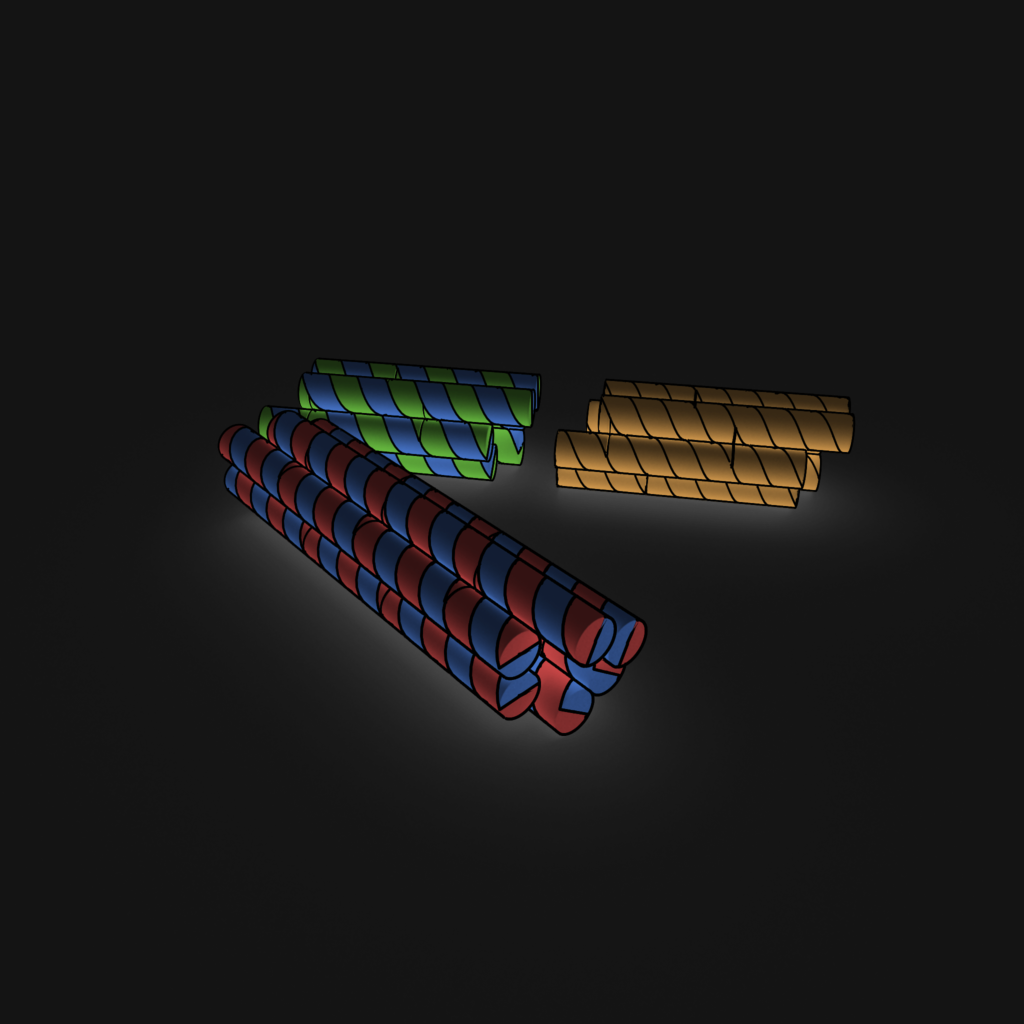
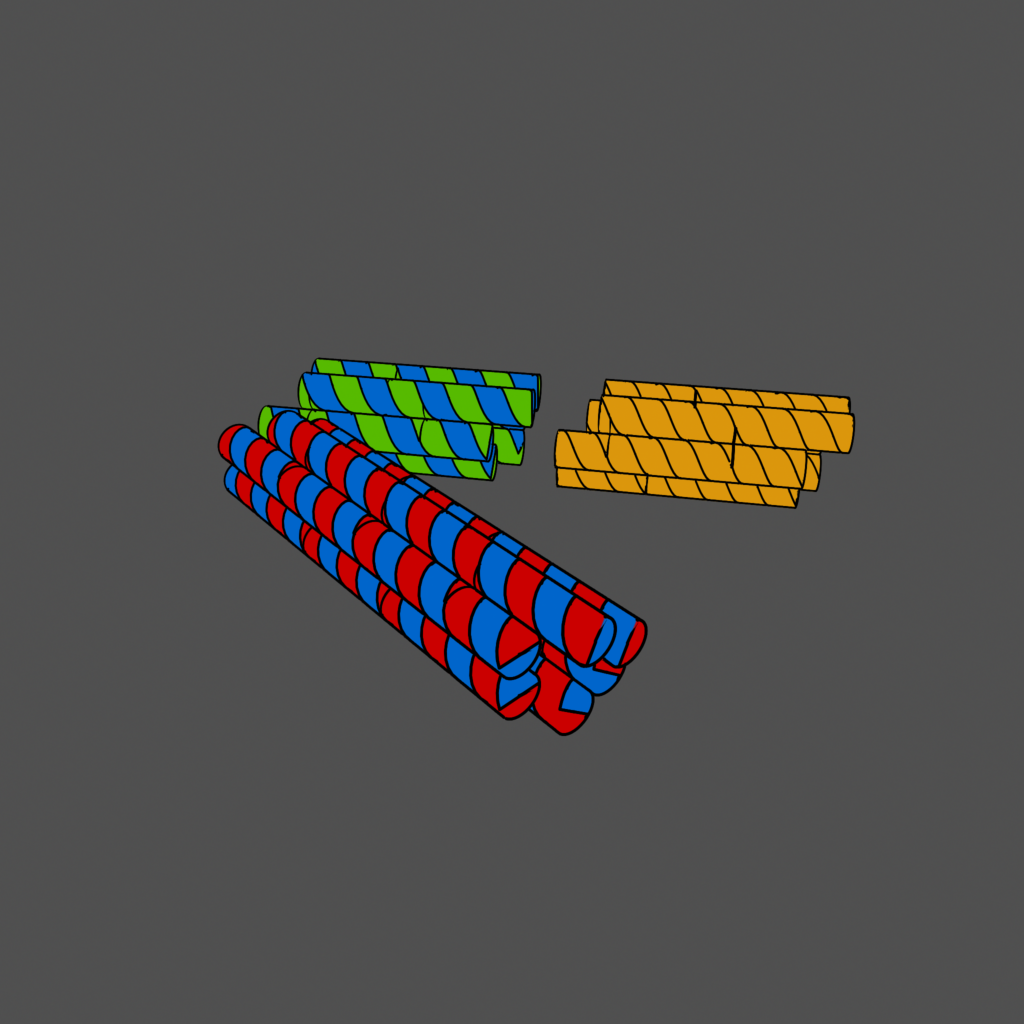
|surface + toon outline|ambient occlusion|
|
|:-:|:-:|
|surface + toon outline|ambient occlusion|
Part 1: Create the geometry
We're not creating anything fancy here, just a few separate origami shapes that we'll manipulate and arrange independently. The important step here is grouping and duplicating the objects created by cadnano so we can easily manipulate the geometry and shading without fighting with the code that's hooked up behind the scenes.
Sorry there is no audio for this first clip. It was meant to just be a record of a private demonstration in the lab. We didn't even realize we should record audio until the 2nd video. However, it's still good enough to give a basic idea of the workflow.
Part 2: Set up shaders
Here we set up some surface shaders to give our models the desired color.
Part 3: Toon Outline
This step is optional, but it's a nice effect that helps define the edges and seams of the object, and its easy to add.
Part 4: Render to PSD layers and composite
Here we set up an ambient occlusion shader on its own render layer. We then configure the render settings so the separate render layers will each be saved to its own layer in a layered Photoshop PSD file. We can then easily composite the two layers (by multiplying the ao layer on top of the ss layer) for the final desired appearance.
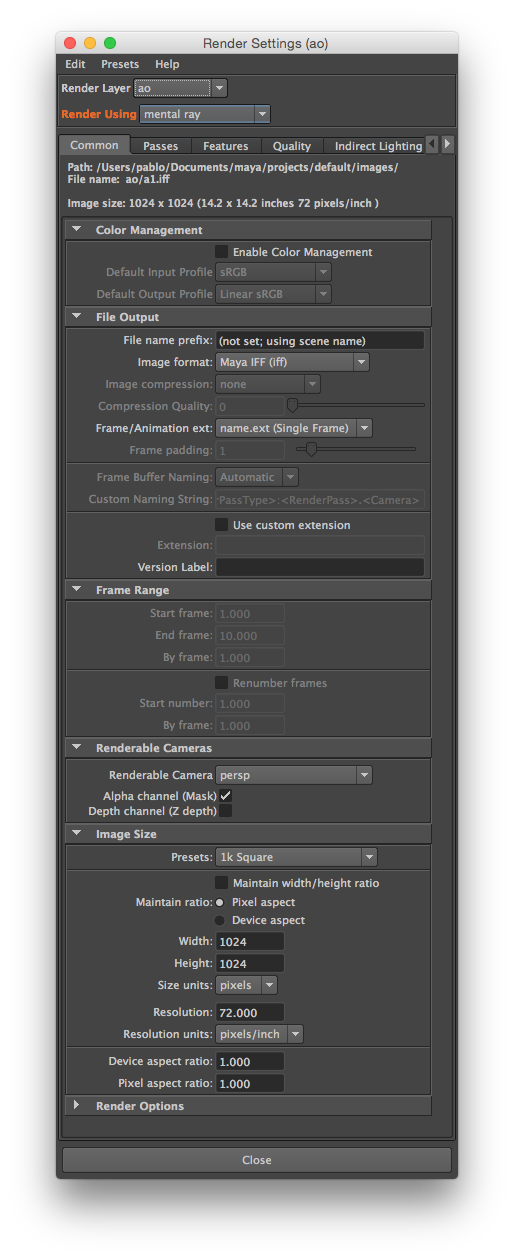
Render settings
Here are screenshots of the render settings windows in case they are hard to see in the videos.


Conclusion
Many additional effects can be achieved in Photoshop by applying filters or adjustments to the layers.


References
If you are interested in learning about 3D rendering, I highly recommend Jeremy Birn's Digital Lighting and Rendering. It is relatively platform agnostic and focuses on concepts.
